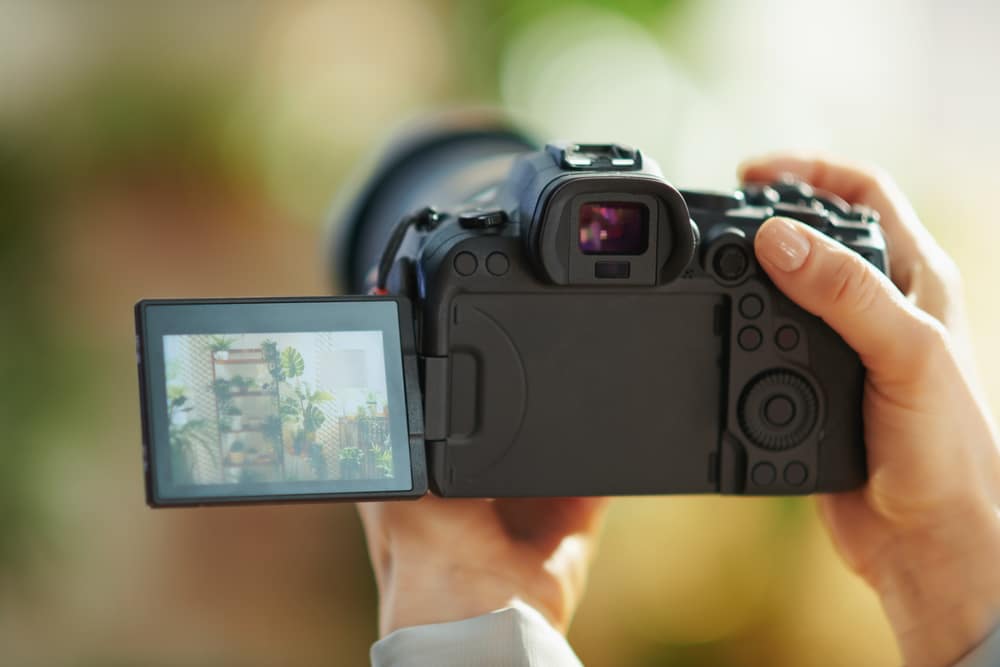
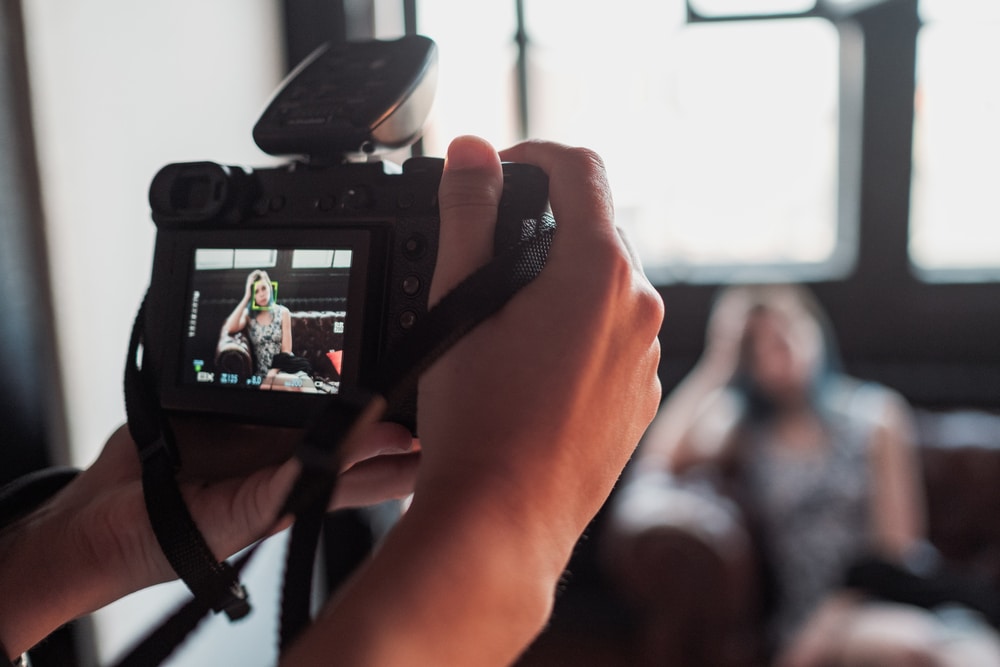
Mirrorless cameras are taking the photography scene by storm, and for good reason. They’re like the cool, younger sibling of traditional SLRs—packing all that high-quality imagery into a more compact design.
Whether you’re just starting out or looking to up your game, this guide will help you master your mirrorless camera such as the Canon EOS R10 mirrorless camera, and capture some seriously epic shots.
Ahead, we’ll walk you through everything from tweaking your camera settings to fit any scene, to using the histogram (it’s not as scary as it sounds!) for perfect exposure.
We’ll also share some pro tips on customizing your camera for maximum efficiency and dive into some advanced features that’ll make your photos pop. By the end, you’ll be ready to take full advantage of your mirrorless camera, from the basics to the fancy stuff.
Understanding Camera Settings
Shutter Speed: Your Motion Master
Think of shutter speed as your camera’s blink—how long it stays open to let light in. Want to freeze a cheetah in its tracks? Go for a super-fast speed like 1/2000th second. Feeling artsy? Slow it down to 1-30 seconds to create those dreamy, blurry effects in landscapes or night shots.
Aperture: The Depth of Field
Guru Aperture is all about that lens opening that lets light into your camera. It’s your go-to for controlling depth of field (DOF)—basically, how much of your photo is in focus. A wide aperture (small f-number) is perfect for portraits, making your subject pop. For landscapes, a narrow aperture (high f-number) keeps everything sharp.
ISO: Light Sensitivity, No Problem
ISO is your camera’s light sensitivity superpower. Low ISO (like 100) is great for bright days, giving you crisp images. When it’s dark, crank it up to 800 or more. Just be careful—high ISO can make your pics a bit grainy.

Camera Modes: Your Creative Control Panel
- Program Mode (P): A nice middle ground, letting you tweak ISO while the camera handles the rest.
- Aperture Priority (A or Av): You set the aperture, the camera does shutter speed. Perfect for nailing that focus depth.
- Shutter Priority (S or Tv): You pick the shutter speed, great for action shots.
- Manual Mode (M): Full control for when you’re feeling like a pro.
Mastering the Histogram
What’s a Histogram?
Your Exposure BFF A histogram is like a graph that shows the light in your photo—dark on the left, bright on the right, middle tones in between. It’s your secret weapon for nailing exposure, right there on your camera screen.
Using It to Rock Your Exposure
Check out the histogram’s shape. If it’s hugging the left, your shot’s too dark—time to brighten things up. Leaning right? It’s too bright, so dial it back. This real-time feedback is gold for getting that perfect exposure in any light.
Tweaking Shots with Histogram Intel
Look for “clipping”—when the graph hits the edges. That means you’re losing detail in shadows or highlights. Fix it by adjusting your camera settings. Want more shadow detail? Boost ISO. Too much brightness? Lower ISO or adjust aperture. You can even fine-tune in post-production for that ideal look.
Customizing Your Camera for Efficiency
Personalize Controls for Quick Access
- Button Magic: Assign fave settings to buttons for lightning-fast changes.
- Function Menu Makeover: Organize less-used but still important settings for easy reach.
Optimize Your Viewfinder and Screen
- Brightness & Color: Adjust to suit any lighting, making it comfy to use.
- Display Tweaks: Choose what info you see for a clutter-free view.
Save Power: Keep Shooting Longer
- Battery Smarts: Pack extras, maybe grab a battery grip. Turn off power-hungry features when not in use.
- Connection Control: Use airplane mode to stop wireless drain. Lower screen brightness and EVF frame rate, too.

Taking Advantage of Advanced Camera Features
Silent Shooting: Ninja Mode
Silent Shooting lets you snap pics without a sound—perfect for weddings or wildlife. Just know that in P/A/S/M modes, some features like flash might not work, and fast-moving subjects could look a bit wonky.
HDR Photography: Light Balance
Magic High Dynamic Range (HDR) captures multiple exposures to nail both dark and bright areas. It’s a game-changer in high-contrast scenes, but maybe skip it for moving subjects or people shots to avoid weird effects.
White Balance: Color Perfection
White balance is your color truth-teller, fixing those odd tints from different lights. For tricky lighting, manually set it by shooting something white or grey in the same light as your subject.
Tapping into HDR for Pro-Level Balance
To rock HDR, you’ll need manual exposure control, a tripod, and software like Photoshop. Shoot in RAW, keep your aperture steady, and use bracketing for various exposures. This way, every part of your scene looks just right.
Wrap-Up
There you have it! We’ve covered everything from mastering your camera settings and using the histogram like a pro, to customizing your gear and playing with advanced features. These tools aren’t just for show—they’re your ticket to unlocking your mirrorless camera’s full potential and capturing some seriously impressive shots.
Remember, getting great at mirrorless photography is a journey. It might seem tough at first, but it opens up a world of creative possibilities. As you keep experimenting and learning, you’ll find your own style.


